7.7 Upgrading to a new server
If you are upgrading MyID from an existing system, you may take the opportunity to upgrade onto a new environment, particularly if you are currently running on an older server operating system.
Important: Check that you have carried out all of the prerequisite actions before beginning the upgrade installation process. See section 7.1, Before you upgrade for details.
The overview of the process is as follows:
-
Back up your existing system.
-
Make sure your system registry is ready for export.
This depends on the version of your existing system.
-
For MyID 12 or later, you do not have to do anything to upgrade your registry before you export it.
-
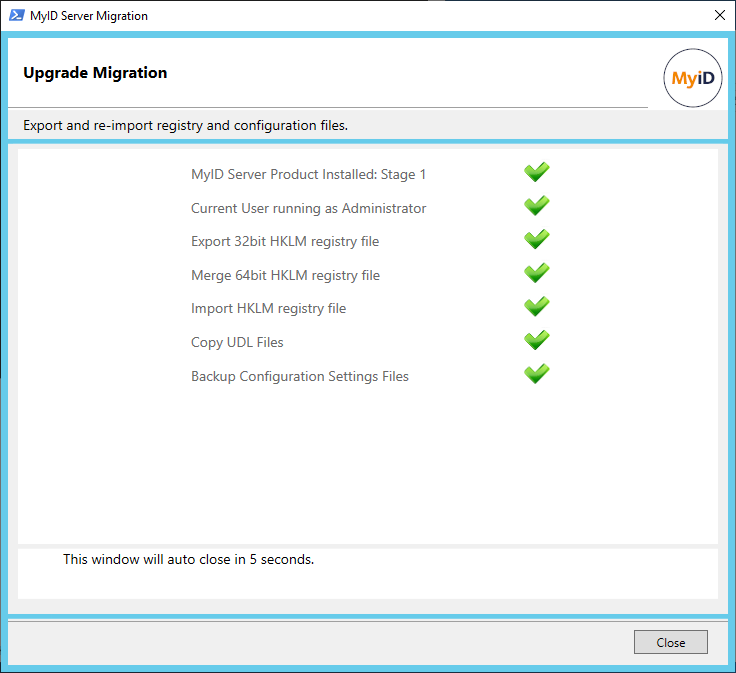
For MyID 11:
-
Run the MyID Installation Assistant.
-
Complete the process until the Upgrade Migration screen has completed.

-
Click Cancel to close the MyID Installation Assistant.
You do not have to proceed further with the installation process on the existing server, as this is a temporary step to upgrade the registry on your existing system before migrating it to the new system.
-
-
If your existing system is earlier than MyID 11:
-
Run the Upgrade Migration script.
See section 7.5, Upgrading MyID from a 32-bit application to 64-bit.
-
Complete the process until the Upgrade Migration screen has completed.

-
Click Close.
You do not have to proceed further with the installation process on the existing server, as this is a temporary step to upgrade the registry on your existing system before migrating it to the new system.
-
-
-
Back up the database.
See the Microsoft SQL Server documentation for details on carrying out a backup and restore of your database.
-
Copy the database backup files to the new server.
-
Restore the backed-up database on the new database server.
-
Repeat the process for any additional MyID databases; for example, archive databases.
-
Export the registry from the old application server.
The registry is in the following location:
HKEY_LOCAL_MACHINE\SOFTWARE\Intercede
-
Merge the exported registry file into the registry on the new application server.
-
If you are using an HSM, make sure the HSM is accessible from the new server.
You can use the HSM Test Utility on the new application server to confirm that MyID can access the HSM.
-
Run the MyID Installation Assistant on the new system and install the latest version of MyID.
The MyID Installation Assistant picks up the key from the registry or HSM, which provides access to the information in the database.
Make sure you select the database you copied to the new database server.
Make sure you run all of the checks – initial, pre-install, and post-install – and configure your system accordingly.
-
Follow the instructions for configuring MyID after you complete the upgrade.